

Your kitchen called—it wants personality. Rustic shelves are the easiest way to bring that farmhouse charm without ripping out cabinets or selling a kidney for custom carpentry. We’re talking warm woods, black metal brackets, and that perfectly imperfect look that says, “Yes, I bake sourdough…and sometimes I just reheat pizza.”
Ready to DIY shelves that look designer but cost grocery money? Let’s build the kind you’ll style and restyle a thousand times. Here’s the plan.
At a glance: Plan your shelf size and intended contents, choose straight dry wood, select brackets and fasteners rated for your wall type, finish the boards according to the product instructions, and fasten the shelf securely before loading it. For heavy dishes, prioritize structural support over a floating appearance.
Safety first: Check for hidden pipes and electrical wiring before drilling. Keep combustible wood shelves away from heat sources and follow the range and hood manufacturer’s required clearances. Illustrations in this guide show design ideas, not verified load-bearing installations.
1. Choose Your Wood Like A Farmhouse Snob (It Matters)
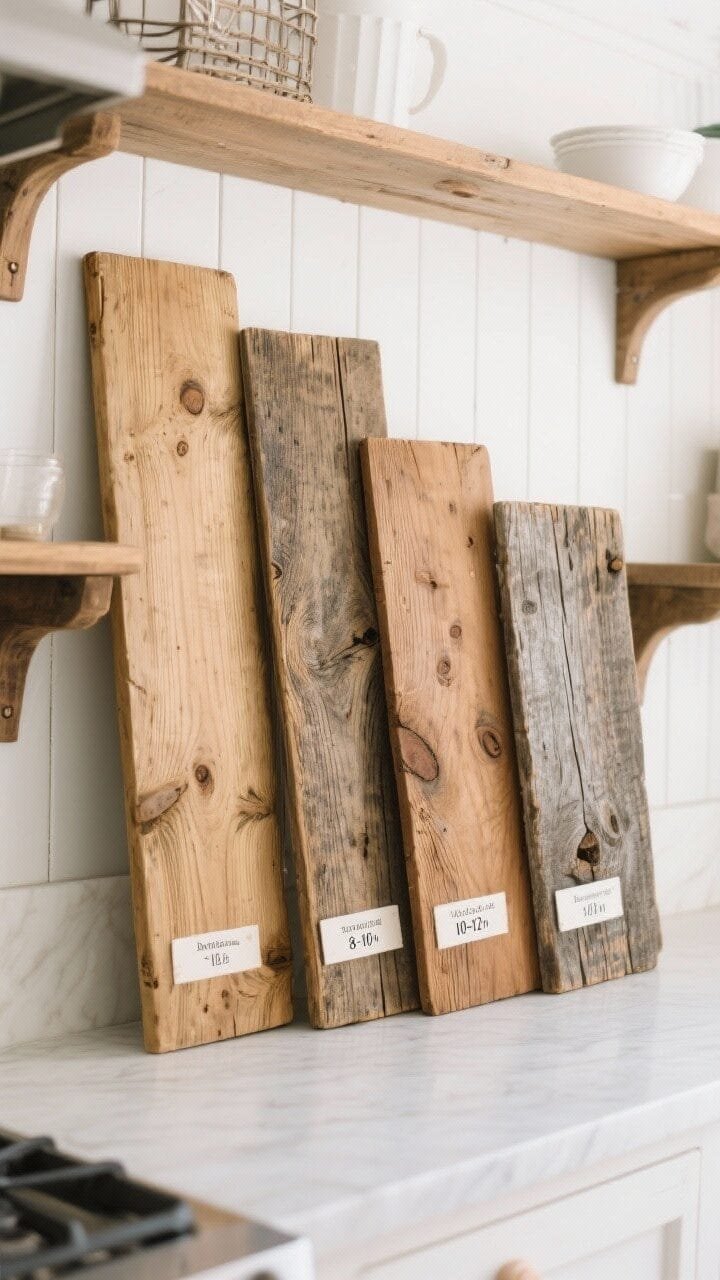
Not all boards are created equal. The magic of rustic shelves is in the wood—grain, knots, and a little character. If the wood looks like it has a story, you’re on the right track.
Best Wood Picks
- Pine: Budget-friendly, easy to stain, takes on that farmhouse look fast. Soft, so seal it.
- Douglas fir: A touch pricier than pine, great grain, sturdy for heavier loads.
- Oak: Durable and luxe. If you want “heirloom,” go oak.
- Reclaimed barn wood: Full of character, but check for nails, rot, pests and unknown old coatings. Do not sand painted reclaimed wood until potential lead-paint hazards have been assessed.
Pro Tips For Sizing
- Depth: 8–10 inches works for mugs and spices; 10–12 inches for plates and canisters.
- Thickness: A 1–1.5-inch board can give a substantial appearance, but safe span and capacity depend on the species, board dimensions, bracket spacing and expected load. Thickness alone does not guarantee it will not sag.
- Length: Longer boards generally need additional supports. Choose bracket spacing and board dimensions using the manufacturer’s guidance for your intended weight rather than a single universal length limit.
FYI: Buy straight boards. Sight down the edge at the store—the fewer bows and twists, the happier your level will be later.
2. Finish Like A Pro: Stain, Distress, Seal (So It Actually Looks Vintage)
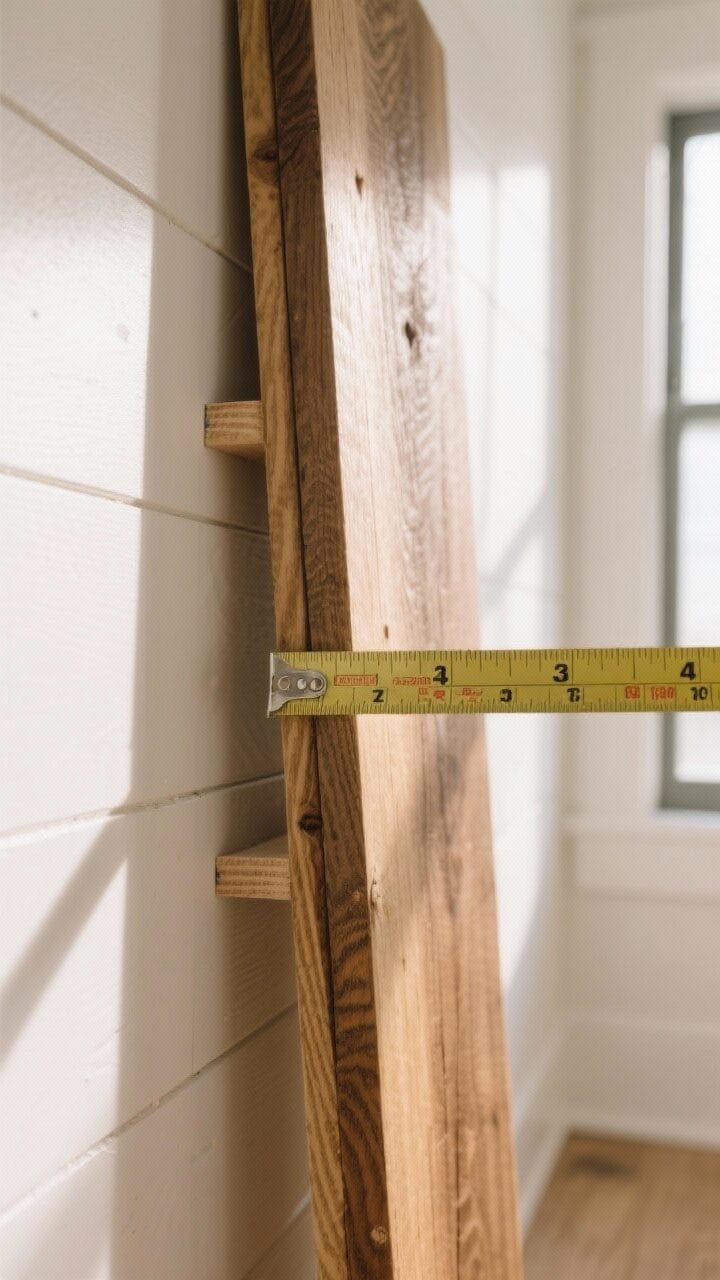
This is where plain wood becomes farmhouse gold. A slightly aged finish can make even new pine look like it’s lived a life on a country porch.
Simple Finishing Recipe
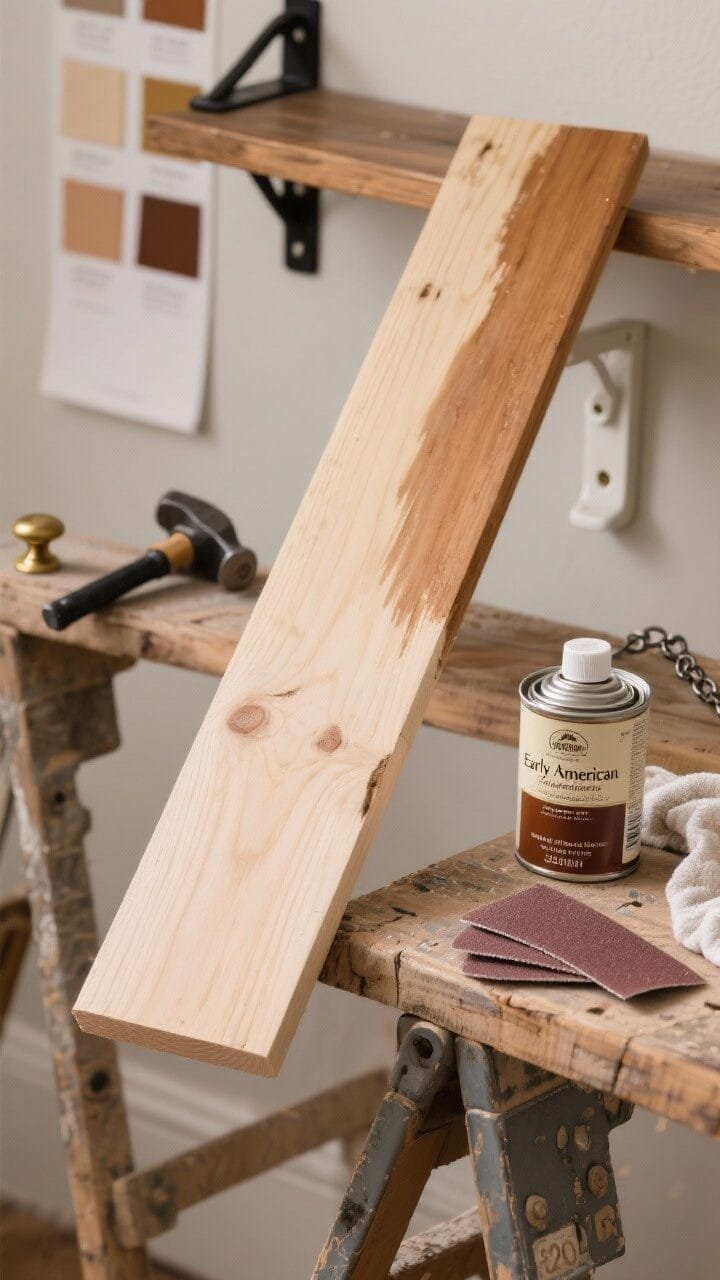
- Sand: Start with 120-grit to knock down splinters, then 220-grit for smooth edges. Round the corners a touch for that soft, worn-in look.
- Pre-stain conditioner: Especially for pine—prevents blotchy stain (the enemy of chic).
- Stain: Classic tones include Early American, Provincial and Special Walnut. Follow your chosen stain’s application, ventilation, drying and wiping directions; timings vary by product.
- Optional distressing: Lightly tap edges with a chain or hammer, then re-sand so it doesn’t snag. Less is more—subtle beats “attacked by tools.”
- Seal: Choose a finish suitable for indoor kitchen use and follow its coat count, recoat time and curing instructions. Avoid placing food directly on the shelf unless the finish is suitable for that contact.
Color Combos That Always Work
- Warm wood + black brackets: The classic farmhouse look.
- Soft gray stain + brass: Elevated rustic with a little shine.
- Natural wood + white brackets: Airy cottage vibes, great for smaller kitchens.
Pro move: Stain both sides—even the underside. It helps prevent warping and looks finished from every angle.
3. Hardware That Makes It: Brackets, Spacing, And Solid Mounting
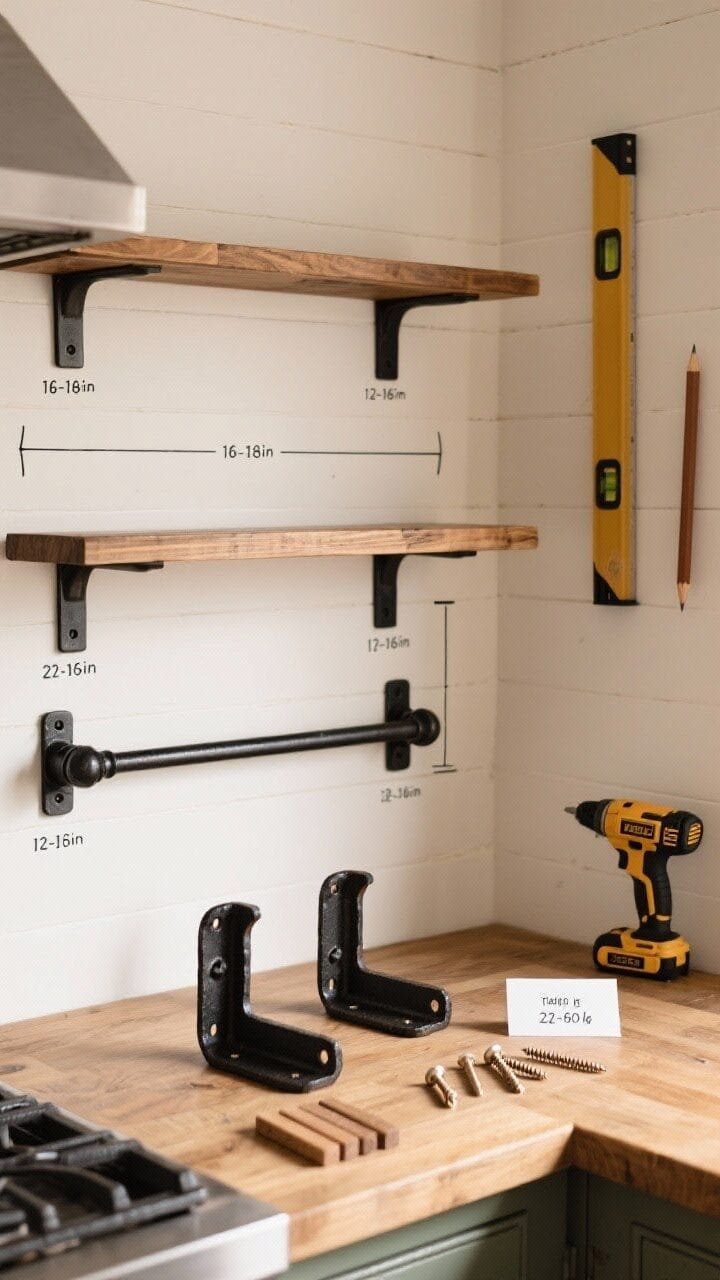
The right hardware takes your shelves from “cute” to “who built these?” You want sturdy, matching, and straight. Sounds basic, but it’s the difference between magazine-worthy and mildly crooked.
Bracket Styles You’ll Love
- Forged iron L-brackets: Bold, black, and timeless. Screams farmhouse in the best way.
- Pipe brackets: Industrial touch—cool with darker woods and subway tile.
- Floating shelf hardware: Minimal and clean if you want the wood to shine.
Mounting 101 (Don’t Skip This)
- Find studs: Locate and verify structural studs and attach brackets to them when possible. If a bracket must attach to hollow drywall or another substrate, use a fastener system explicitly approved for that wall and the actual load; consult an installer for heavy items.
- Height: Choose spacing for your dishes, reach and head clearance. Avoid obstructing outlets, windows or ventilation; follow the cooker/range-hood manufacturer’s clearance requirements rather than a universal countertop measurement.
- Level, then level again: Mark a light pencil line across both bracket locations. Your eyes will thank you later.
- Weight: There is no reliable universal weight rating. The practical limit depends on the shelf, brackets, wall structure and fasteners together. Include the weight of the board itself, spread heavier items near the supports and never exceed the lowest applicable manufacturer rating.
For a step-by-step explanation of finding studs and fastening shelf supports, see This Old House’s wall-mounted shelf guide. If an installation cannot be safely fastened to solid framing, reconsider the load or get professional help.
IMO, black brackets are an instant upgrade. They hide smudges, match most appliances, and look designer without trying too hard.
4. Style Like A Pro: Curate What You Display (And What You Don’t)
Here’s the secret: your shelves are not storage, they’re a vibe. Mix pretty with practical so it looks intentional—not like you panicked and put all your mugs on display.
Mix Heights, Textures, And Tones
- Rule of thirds: Style in groups of three—one tall, one medium, one small.
- Layer textures: Ceramic mugs, woven baskets, linen napkins, wooden cutting boards. Boom: visual interest.
- Balance color: Anchor with warm wood, add whites and creams, sprinkle in black or brass.
What To Put On Rustic Shelves
- Everyday dishes: Stacks of white plates never fail. They also make you look like you have your life together.
- Glass jars: Pasta, beans, flour—functional and pretty. Label them if you’re that person (respect).
- Cookbooks: Lay a couple horizontally, tuck a small plant on top. Instant magazine moment.
- Cutting boards: Lean a few behind items to create depth and soften the straight lines.
- Greenery: Small potted herbs or trailing pothos. Kitchens love a little life.
Avoid The Clutter Trap
- Leave negative space. Your eye needs breathing room.
- Stick to a tight color palette—3–4 colors max.
- Rotate seasonally: swap in a ceramic pumpkin or a linen runner. Small changes, big mood.
Pro tip: Put the pretty stuff at eye level and the utilitarian things lower. You’ll reach for them more, and the shelf will look balanced.
5. The Weekend Build: Step-By-Step, From Tools To Ta-Da
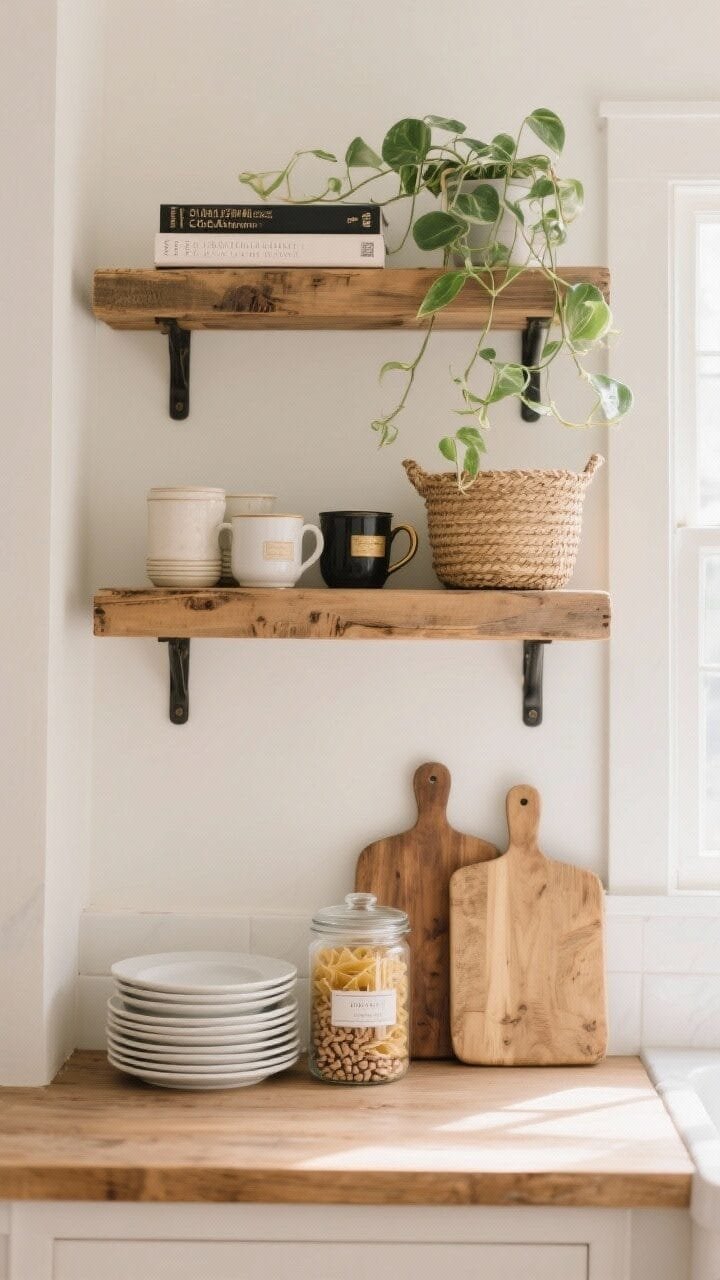
You can knock this out in a weekend, promise. Here’s the streamlined, no-drama method to build and install DIY rustic shelves for a farmhouse kitchen.
What You’ll Need
- Tools: Stud finder, level, drill/driver, tape measure, miter or circular saw (store can cut), sander, brush or lint-free cloths.
- Materials: Wood boards sized for your wall, rated brackets and compatible fasteners chosen for the substrate, optional primer or conditioner, stain, suitable protective finish and painter’s tape. The number of brackets depends on span, board and verified load requirements.
Step 1: Measure And Visualize
- Mark your ideal shelf heights with painter’s tape. Step back, squint, adjust. Trust your gut—it’s your kitchen.
- Confirm clearances for your tallest items (cereal jars, pitchers). No head bonks on everyday grab-and-go.
Step 2: Cut, Sand, And Prep
- Cut boards to length or have the store do it. Dry-fit on the wall to confirm scale.
- Sand edges smooth, round corners slightly for that “old but loved” look.
- Remove sanding dust safely and wear appropriate eye and respiratory protection. If working in an older home or reusing painted wood, follow EPA lead-safe renovation guidance before disturbing any suspect paint or coatings.
Step 3: Stain And Seal
- Apply pre-stain, then your stain of choice. Wipe off excess for a natural grain reveal.
- Allow the stain to dry as directed, then apply the finish using the label’s recoat and curing times. Light intercoat sanding is appropriate only if recommended for your particular finish.
Step 4: Mount Brackets Like A Perfectionist
- Find studs and mark bracket holes. Use a level to keep everything aligned.
- Check for concealed utilities, drill suitable pilot holes if required, and mount brackets with the manufacturer’s specified fasteners into an approved substrate. Hollow-wall anchor labels alone do not establish the safe capacity of a complete shelf system.
- Set support spacing and overhang according to the shelf’s dimensions, board stiffness, bracket specifications and intended load. Check level and fastener security before attaching the board.
Step 5: Attach Shelves And Style
- Fasten each board mechanically to its supports using the bracket maker’s recommended method; do not rely on silicone dots or felt pads to keep a loaded shelf from slipping.
- Style with your best-looking everyday pieces. Keep the top shelf lighter and decorative; lower shelf can be more functional.
Maintenance And Longevity
- Wipe with a damp cloth; avoid harsh cleaners so the finish lasts.
- Inspect for moisture damage, peeling finish, loose fasteners or movement. Recoat the wood only when the finish manufacturer’s instructions and observed wear call for it.
- Shift items occasionally to prevent pressure dents and sun fade patterns.
Bonus move: An under-shelf rail with hooks can be useful, but include its weight and the hanging objects in your load calculations and use hardware intended for that purpose.
DIY Rustic Shelves FAQ
Can I install rustic kitchen shelves without wall studs?
Some lighter shelves may be compatible with wall anchors, but safe mounting depends on the wall type, the hardware rating, the shelf’s own weight and what you plan to store. Heavy dishware is best supported by a properly designed system fastened into framing. Check the rated mounting hardware and wall conditions before choosing this approach.
What is the best wood for a farmhouse kitchen shelf?
Pine is an approachable budget option, while oak provides a harder-wearing surface. Fir and carefully sourced reclaimed wood are also options. The best board depends on the planned span, appearance, load and finish—not just the wood species.
How deep should kitchen shelves be?
About 8–10 inches can suit many mugs and spices, while larger plates and canisters may need a deeper board. Measure your actual items and check that the shelf will not create a collision or heat-clearance problem.
How much weight can DIY rustic shelves hold?
No fixed number applies to every installation. Consult the published ratings and instructions for the brackets, anchors or screws, wall substrate and board. If any component or connection is uncertain, reduce the load and seek qualified installation advice.
That’s it—you’ve got rustic shelves that look custom, cost-friendly, and totally at home in a farmhouse kitchen (even if your farmhouse is a city apartment with great lighting). Take a pic, show it off, and then make something delicious to put on those shelves. You earned it.
Planning the installation? See our guide to floating shelves without wall studs for mounting considerations. For ideas on arranging the finished room, check out common home decor mistakes and how to fix them.

- DIY Your Bookshelf: The unique structural design allows you to combine this wall-mounted ladder shelf at will. If 2 or m…
- Sturdy and Stable: The wall mounted ladder shelf is made of premium particleboard and elegant matte black iron pipes, gi…
- 6 Tier Bookcase: The bookcase consists of 5 tiers of 9.4″ x 23.6″ shelves arranged one after the other, with each tier 1…


- SIZE: Fully assembled dimensions(inches): L: 23.6 x W: 9.8 x H: 78.8. Clearance between shelves: 12.6 inches
- HIGH LOADING CAPACITY: Constructed with high-quality durable MDF(Non-solid Wood) and sturdy metal pipe allow it to bear …
- FITS IN TIGHT SPACES: Slim shape design will enable this to fit perfectly into the small, awkward place in your room and…

- Versatile Ladder bookshelf: The wooden narrow bookshelf functionality and aesthetics, perfect as a bookcase in the study…
- Very Sturdy: Made of premium panels and sturdy metal, the tall bookshelf is durable. Each shelf can undertake up to 22 l…
- Perfect and Easy to Put Together: This 6-tier open display shelf comes with detailed instructions and clearly labeled pa…
Disclosure: This post contains affiliate links. If you make a purchase through these links, I may earn a small commission at no extra cost to you.
